

next build and next start from your package.json, so no Dockerfile is needed.
This guide explains how to deploy a Next.js app in two ways:
If you have your own Next.js repo, follow the steps with it. If not, scaffold a fresh app and push it to a GitHub repo to follow along:
Deploy using the Canvas
1
Create a project from your repo
In the Suga dashboard, click New project and pick your Next.js repo from the GitHub list, installing the Suga GitHub App if prompted. On the import page, name the project and leave the build method on auto-detect; Suga picks up
next build and next start from your package.json. Set the branch you want deployed, and a root directory if the app lives in a subdirectory. See Import from a GitHub repository for the full set of import options.Click Create project. Suga opens the canvas with a service already connected to your repo.2
Expose the app on HTTPS
Select the service. On its Config tab, in the Private Network section, set the port to
3000 (Next.js’s default). Then, in the Public Network section, click Add Endpoint → HTTPS Domain and choose port 3000. Suga reserves a hostname immediately and shows the URL in the properties panel.3
Apply to deploy
Click Apply in the top right. Suga clones the repo, runs 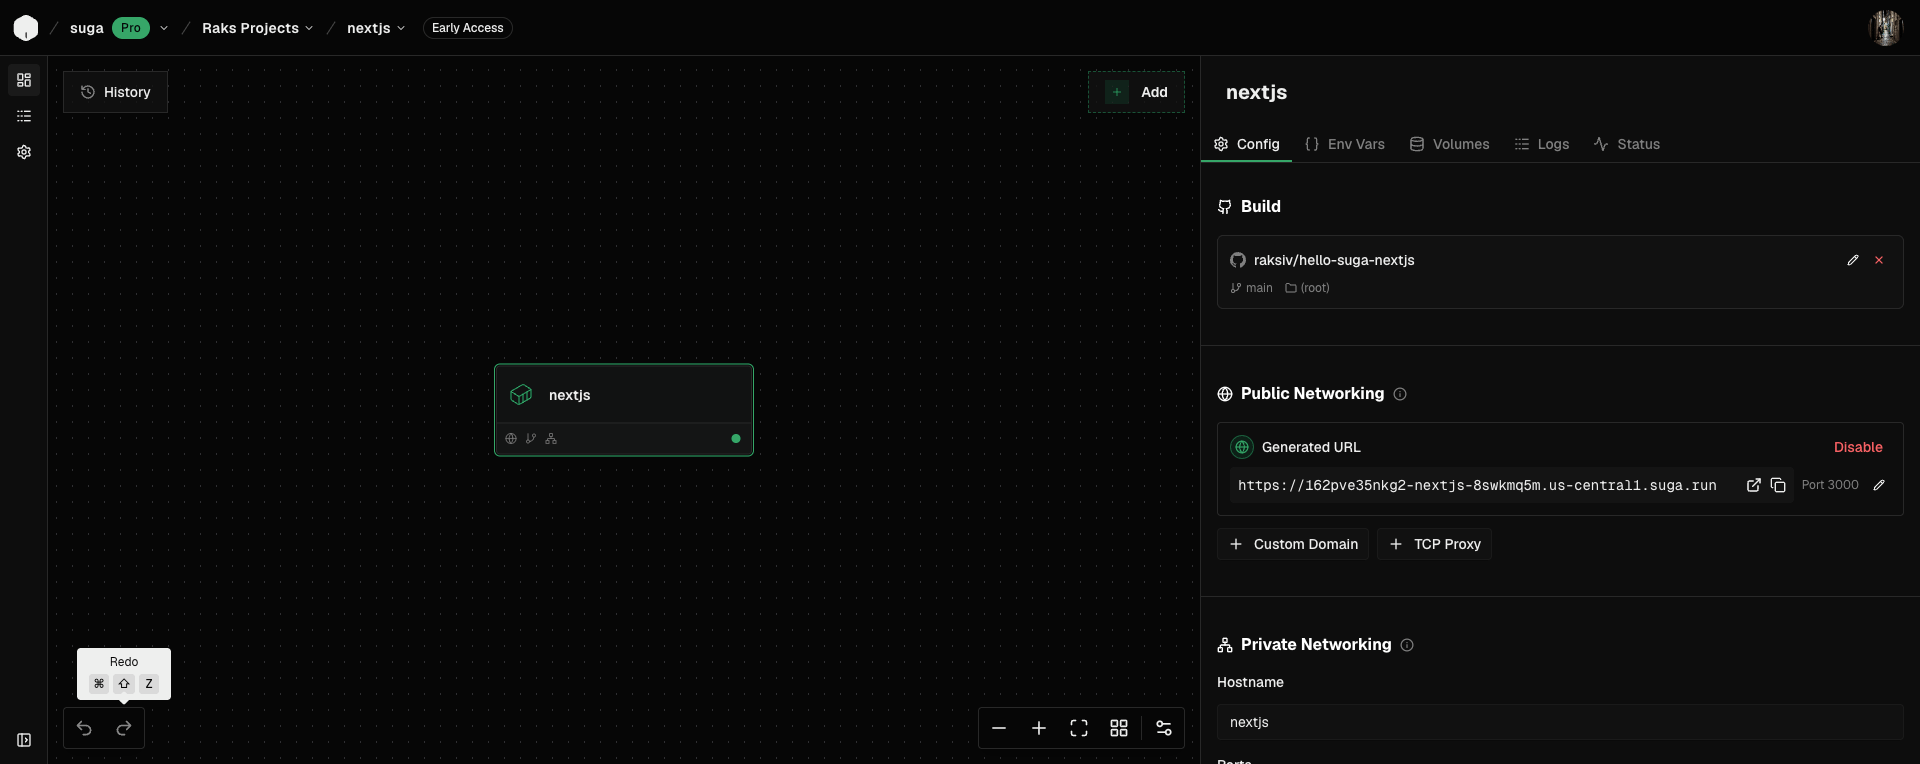

next build, and starts the app. A fresh Next.js app takes 60-90 seconds end to end.Deploy using an Agent
To deploy with a coding agent such as Claude Code, Codex, or OpenCode, follow these steps:1
Connect the Suga MCP
If you haven’t already, connect your agent to the Suga MCP server.
2
Ask your agent to deploy
Ask your agent to deploy your repo to Suga. Here’s a basic prompt you can use, with your repo and branch filled in:The agent will give you a link to the new environment on the Suga canvas. Open it to review the setup.
Prompt
3
Apply to deploy
Click Apply in the top right. Suga clones the repo, runs
next build, and starts the app. Your app loads at the public URL 60-90 seconds later.FAQ
Do I need a Dockerfile to deploy Next.js on Suga?
Do I need a Dockerfile to deploy Next.js on Suga?
No. Suga detects Next.js from
package.json and runs the right build and start commands. If you already have a Dockerfile, you can tell the agent to use it instead; otherwise Suga’s default handles the standard flow.Which Next.js versions does Suga support?
Which Next.js versions does Suga support?
Any version. Suga runs the version pinned in your
package.json, both the pages router and the app router. Node.js version comes from engines in package.json or a .nvmrc file if you have one.How do I set NEXT_PUBLIC_* variables so they end up in the client bundle?
How do I set NEXT_PUBLIC_* variables so they end up in the client bundle?
Add them as build args on the container, not as regular env vars. Build args are set during the build, which is when Next.js inlines
NEXT_PUBLIC_* values into the client bundle. Runtime env vars are only visible on the server after the build finishes.Do API routes, Route Handlers, and Server Actions work?
Do API routes, Route Handlers, and Server Actions work?
Yes. They run on the same container as the rest of the app in the Node.js runtime. No separate function service or edge runtime configuration is needed.
Does Next.js image optimization work?
Does Next.js image optimization work?
Yes. Next.js’s built-in image optimization runs on the container using the default
sharp-based loader. No extra configuration required. For a CDN-backed loader, configure it in next.config.js as usual.What about ISR and the Next.js data cache?
What about ISR and the Next.js data cache?
ISR and the data cache work in-container. Regenerated pages and cached fetches live on the container’s local disk, so with more than one replica each instance keeps its own copy. For cross-instance persistence, add a Redis service on the canvas and point the cache at it.
Can I deploy Next.js from a subdirectory in a monorepo?
Can I deploy Next.js from a subdirectory in a monorepo?
Yes. When configuring the container, set the build context to your Next.js subdirectory, or pass
RAILPACK_BUILD_CMD and RAILPACK_START_CMD as build args to target the specific app.Can I use a custom domain?
Can I use a custom domain?
Yes. Attach your domain to the container in the dashboard once the app is deployed.
What does deploying a Next.js app cost on Suga?
What does deploying a Next.js app cost on Suga?
The Free tier fits a small Next.js app plus its build history. Pro is per-seat with hosting credits that offset compute and storage. Full pricing at suga.app/pricing.